The first change we’ll make to our photo is to turn it into a black and white image. Do this by selecting Adjustment –> Desaturate.
Now we’re going to make a second layer which is an identical copy of our black and white image. Right-click on Background in the Layers palette and select Duplicate layer.
Now we’re going to turn the new layer into a negative of the original image. You can do this by selecting Adjustment –> Invert.
Now it’s time for some cleverness with layers. Click on the little box with two arrows in the bottom left corner of the layers palette. This should make the advanced layer settings (Opacity and Mode) visible.
At the moment, the layer called Background copy should by in Normal mode. Use the drop-down menu to change it to Add mode. Everything in your image should turn white. Don’t panic! That’s what we wanted.
Select Filter –> Gaussian blur…
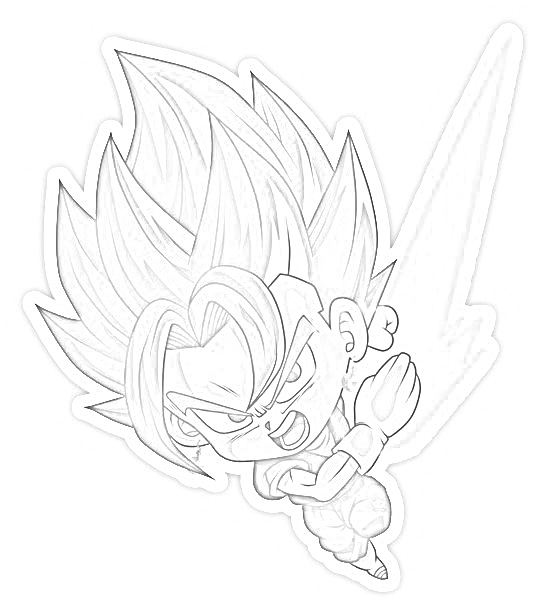
A slider called Amount should appear. Try dragging this back and forth to see what happens. The outline of your image should become visible, starting as a thin tracing when Amount is low and turning into softer, thicker strokes as you increase it.
Adjust the slider to a medium point at which you can clearly tell what the image is, but the lines appear neither pencil-thin nor extremely soft and blurry.
Now we’re going to squash the image back down to a single layer. Right-click on the top layer (Background copy) and select Merge down. You should now see a single layer in the palette.
Select Adjustment –> Levels
